1. Buttons description
 /
/  is located on the right from the username and is used for manual activation of users (gray icon= user active; red icon = user inactive)
 /
/  is located on the right from comments name. Use to hide or to show comments(gray icon = comment visible; red = invisible)
 is located on the right from them element, used for editing
 deletes element WITH NO BACKUP
2. Moderators tab
After clicking main tab on the left side as first active appears sub-tab for moderator.

Divided into three parts:
Divided into three parts:
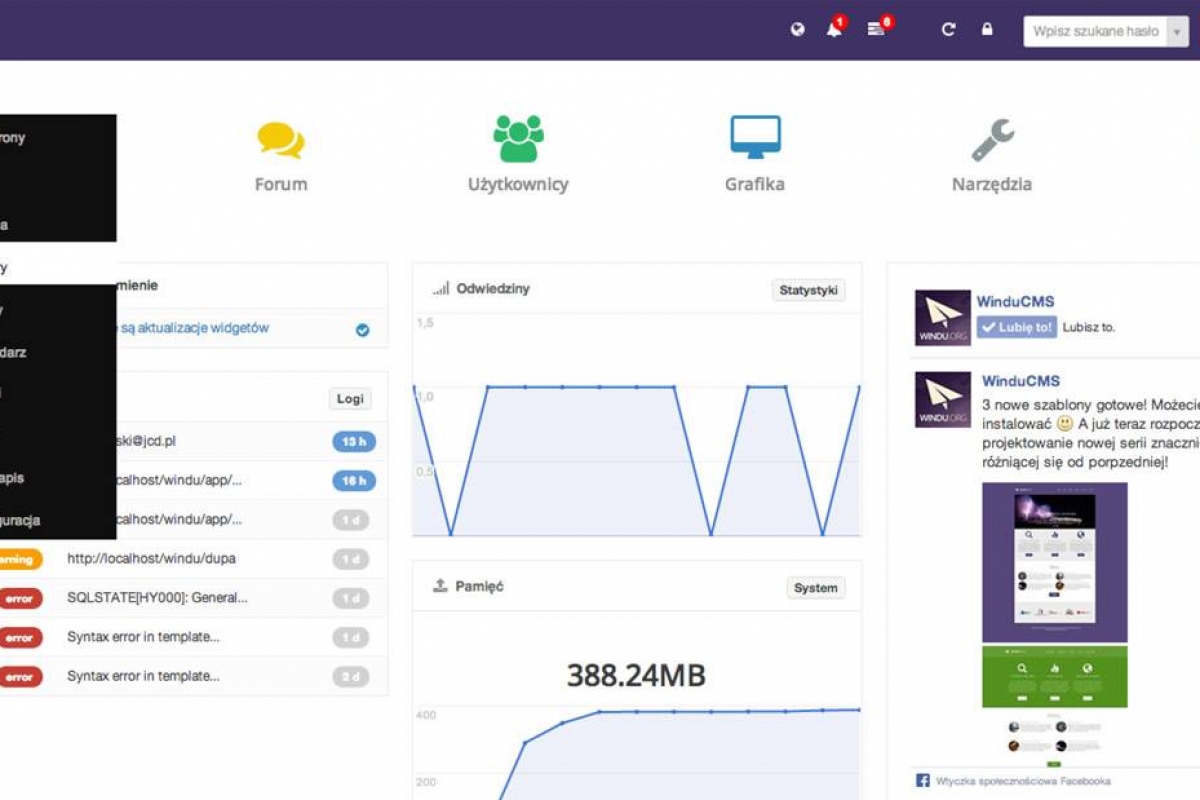
- "Users" – divided into two columns. On the left are users not yet activated and on the right Users already active(it's nicely shown on the screenshot above). In order to activate user, You've got to press () button. If We want to deactivate user click on the right column ().
- "Comments" – just like users divided into two columns. Left visible comments and right presents active/visible comments. Activation of comments is done by () button. To deactivate a comment we use a button on the right side () .
- "Review" – displays list of users along with basic data about them. Buttons on the right allow us to activate/deactivate and delete users. Clicking on columns titles (f.e. “IP addresses”) users will be sorted by IP address.
3. Administrators tab
Divided into two columns. Left presents list of admins on the website. Right is a form of adding. There is plenty of fields. I'll describe one “User type”, because rest is obvious.
Expanding field “User type” is strictly connected with sub-tab “Permissions”, which I'll describe later on. By default We have choose from: "Administrator" (whole admin panel), "Admin Main" (lack of, for own configuration), "Content"(content tab), "Editor" (content tab and system tabs). In brackets We've explained default permissions for those groups.
Editing of admins is done by clicking () button.
) button.For deleting responsible is() button. Remember, that after deleting You CANNOT RESTORE that element.
) button. Remember, that after deleting You CANNOT RESTORE that element.4. Users tab
Everything is done on the same basis as in the section above, considering admins.
5. Permissions tab
On the left side list of types of permissions is displayed.
Adding of Your own types is done by a form on the right side.
From drop down field pick if permissions affect CMS system (“System)” or website (“Page”).
In a field “Regular Expression” enter an expression, which is responsible for a given part of system. By entering “admin*” person will have full access. “adminContent*” - content tab, “adminSystem*” - system tab etc. If We want to give someone right to several single tabs we should add them after a comma (f.e.: adminSystem*, adminIndex).
In the next field of choice we can define, which type is overriding (extension) for adding.
We use those permissions in sub-tabs “Administrators” and “Users”
- Editing is done by button.
- Deleting with no way to restore .